Testing webhooks using netcat and ngrok
NOVEMBER 29, 2020

A very common challenge faced by many software products is the need for the application server to communicate with other third party application servers. To be more specific, my application server needs to be notified when a particular event takes place in a 3rd party application server.
For instance, I am currently building a customer support software in which customer queries can come from various channels of communication including Facebook, Instagram and WhatsApp. This means that if someone sends a message on Facebook messenger, that message has to ultimately reach my application server in some way so I can perform the necessary operations.
The most common way to solve this problem is with the use of webhooks.
What is a webhook?
A webhook is nothing but an API end point that is created in your own application server which is made public and it is called by other applications to provide your application with real time updates for various events.
The product that I am currently building integrates with Shopify and every time somebody places an order on a merchants Shopify store, my application needs to be notified in real time so that the order can be indexed in my database and my application then has the capability to query all orders placed by a particular user.
To solve this, I would have to create an API end point on my server in the form of /webhooks/shopify/orders/create and register this URL with Shopify. Whenever Shopify receives a new order in their system, their server will fire this URL along with the order data.
How to inspect a webhook?
Since a webhook is called from a 3rd party server that is out of your control, you have no way of knowing what kind of data will be sent in the webhook unless you actually create an API, host it somewhere that is public and register the endpoint with the 3rd party software.
If this seems like a lot of work just to view the contents of a webhook, products like requestbin and beecepter were built exactly for this purpose. You can get a free endpoint from these products and register it in the 3rd party software after which you can trigger the event you are looking for and view the contents of the request on their dashboard.
However I believe in simplicity and these services come with their own set of constraints. So after a little bit of research I found that the netcat utility that is installed by default In most UNIX based machines solves this problem quite elegantly.
Using netcat to inspect a webhook
In the most simplest form, you can set up a webhook listener with a simple terminal command
| nc -l 3000 |
This command will listen for any requests coming on the port 3000 and display it on the terminal itself. Let us try it out by entering http://localhost:3000/my/webhook/path on the browser and see what happens.

Inspecting the contents of a http request
The output on the terminal contains the entire http request that was received by localhost:3000 including the http method, headers and content. But there are two clear problems here:
- The browser keeps waiting for a response from the netcat server which is never received, so it eventually times out.
- The netcat server displays the webhook request and then shuts down after which it will no longer accept any more requests unless you re-run the command.
Both of these problems have simple solutions. Let’s go through them in order.
Returning a response
One can easily create a simple HTTP message and return that as the response to the requests made to this netcat server. Here is how you do it:
Create a file called response.txt with these contents.
| HTTP/1.1 200 OK | |
| Content-Length: 13 | |
| Content-Type: text/plain | |
| Hello world! |
Echo the contents of this file and pipe the netcat command to it.
| echo "$(cat response.http)" | nc -l 3000 |
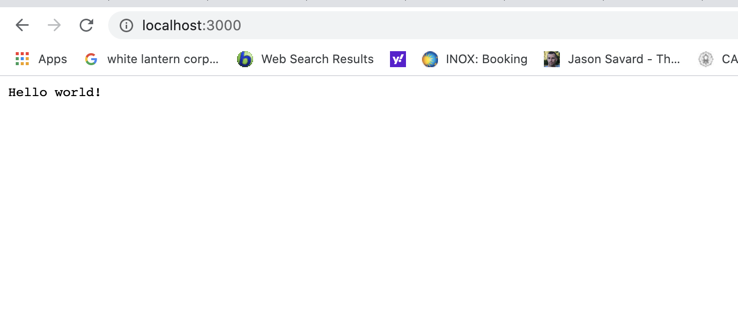
Now upon hitting localhost:3000 on your browser, you will receive a response in the browser.

netcat server with response
Running the netcat server in a loop
To prevent the netcat server from shutting down after a request is received, all we have to do is run the commands in a loop. This can be done with a small modification to the above command.
| while true; do { echo "$(cat response.http)"; } | nc -l 3000; done | |
Now when you make a request to localhost:3000, the request content will be displayed on the terminal and a response will be sent to the client making the request but the netcat server will continue to run and accept new requests.
To demonstrate the fact that you can inspect any http request using this setup, let us make another request to localhost:3000 but this time use a PUT method with some query parameters, some headers and some data using cURL.
| curl -XPUT 'http://localhost:3000/some/url/path?query_param_1=value1&query_param2=value2' \ | |
| -H "Content-Type: application/json" \ | |
| -H "X-Custom-Header-Foo: Bar" \ | |
| -d '{"key1": "val1", "key2": "val2"}' |

Viewing the contents of a PUT request with headers, query params and body
Great! we can now inspect any type of webhook that is made to localhost:3000.
Making your webhook public using ngrok
Now that we have a fake server setup using netcat that is capable of accepting requests, displaying their content and sending back a valid response, all we need is a method to expose this server to the public internet.
This is because, we need to register this webhook on some third party software like Shopify and that cannot be done unless the URL is publicly accessible.
Fortunately, this can be done with a single command using ngrok. Ngrok is a very nifty tool that lets you expose a service running on localhost to the public internet by generating a temporary URL that is made public. You can also get a permanent URL by signing up for their paid plan.
After installing ngrok from here and unzipping it as shown in the description, all you have to do is run this command on a new terminal window while your netcat server is still running.
| ./ngrok http 3000 |
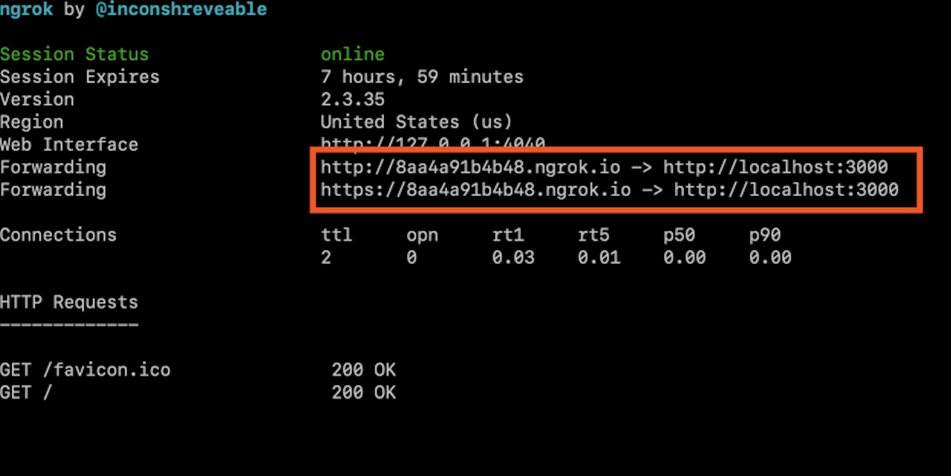
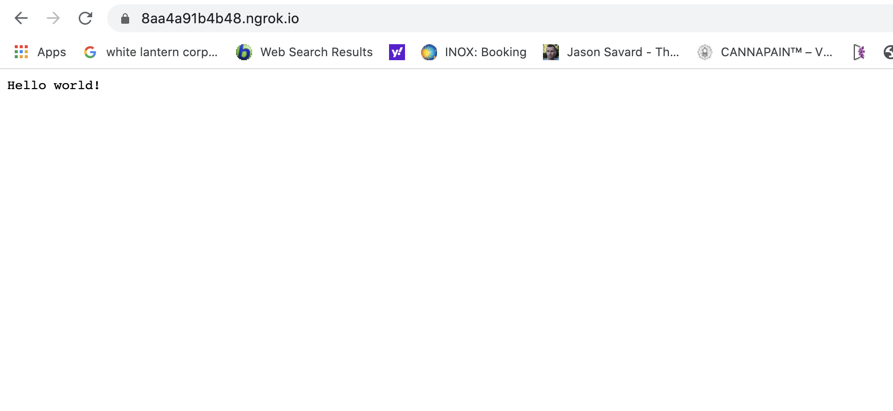
You instantly get a http and https endpoint that routes traffic from the public internet to localhost:3000. You can try it out by coping the generated URL and pasting it in your browser.

get the public URL from here

Making a request using the public URL
And it works!
Summary
A webhook can be tested by running just two simple terminal commands on separate terminal windows.
| # Start the netcat server in a loop on terminal window #1 | |
| while true; do { echo "$(cat response.http)"; } | nc -l 3000; done | |
| # Run ngrok on terminal window #2 | |
| ./ngrok http 3000 | |
You can now test your webhooks with the public URL derived from ngrok and registering this URL in the 3rd party software that will be calling the webhook.
Closing notes
As I mentioned before, for those of you who believe that using an existing service that was built for this very purpose is better, I would highly recommend beeceptor.
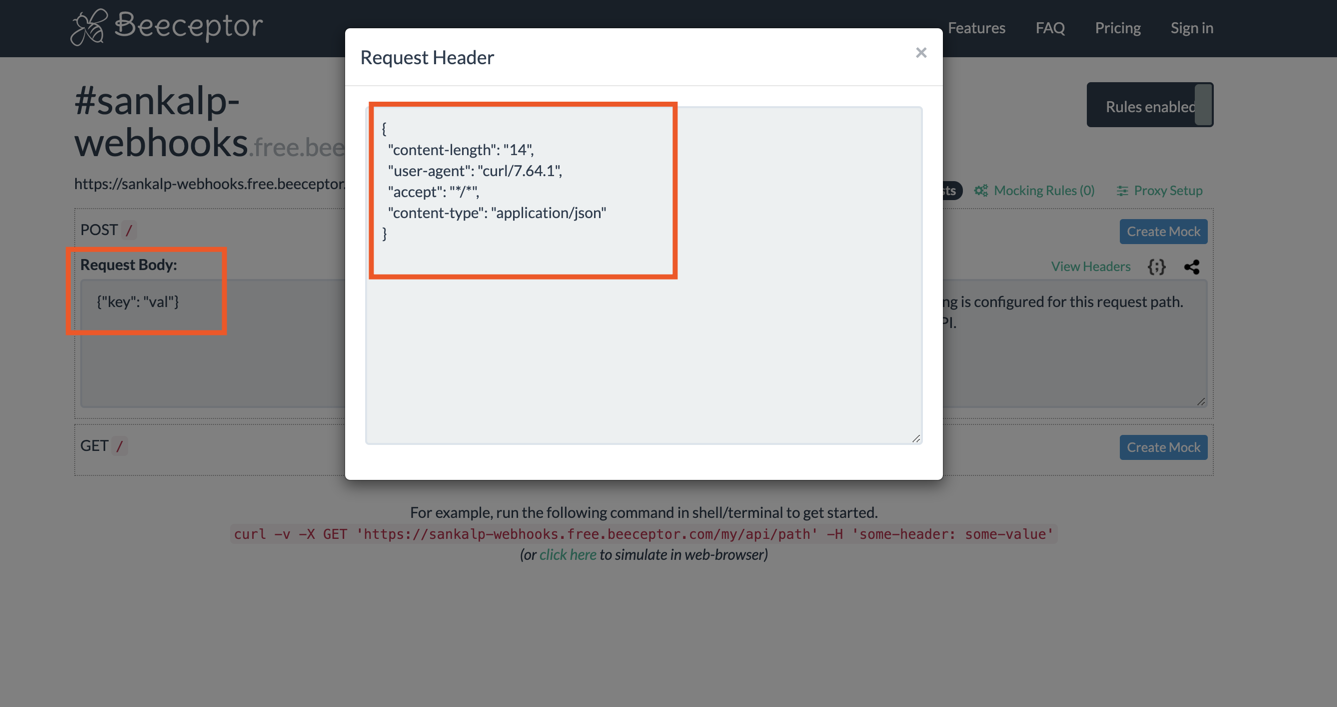
You can view all your requests on a dashboard like this.

Beecepter dashboard
The downside is that if you don’t want to pay for this service, the free plan has many constraints, once of which is that if you refresh this page, your previous request data is lost, so you can use this only as a one time thing.
The reason I like to go with the netcat + ngrok method is because the whole thing is completely in my control and it always feels good to hack something together of your own rather than use an existing service.